

Making of the Baby Cthulhu : 11 Steps (with Pictures) - piercewhighletwor81
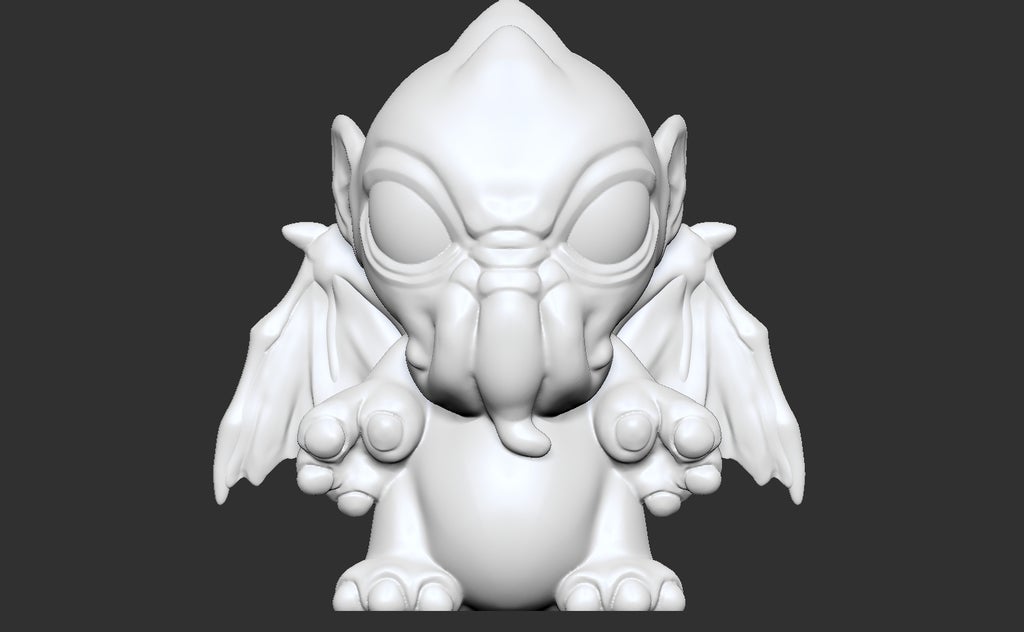
Introduction: Making of the Child Cthulhu
There are many tools out there for making 3D models. United subcategory of such tools is 3D sculpting software, which is special for creating models by manipulating objects every bit if they are successful of corpse. This is a common method I use to create any of my figurines and other designs for 3d print. My favorite program to use for digital sculpting of characters is Zbrush.
In this instructable, I wish show you the universe process for the baby Cthulhu design I created for 3d printing.
Stair 1: Reference
The theme for the conception was originally done as a quick sketch in theory that was and then scanned into the computer to be brought into Photoshop. From there I cleansed up the design a bit and gave the reference some color to architectural plan out how I wanted to paint the final design when it came sentence.
Abuse 2: Setting Up the Reference.
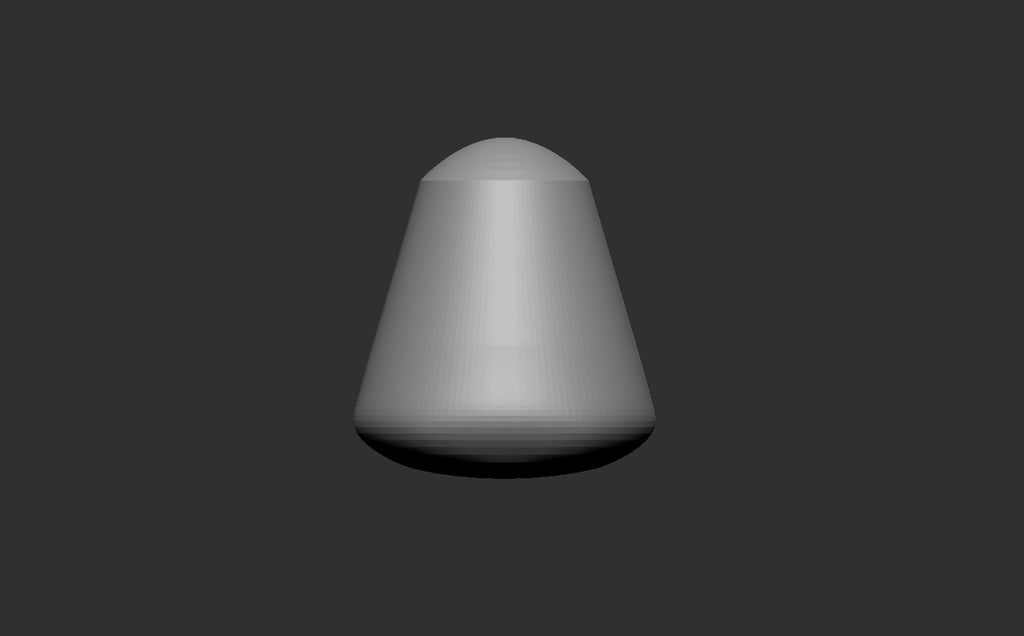
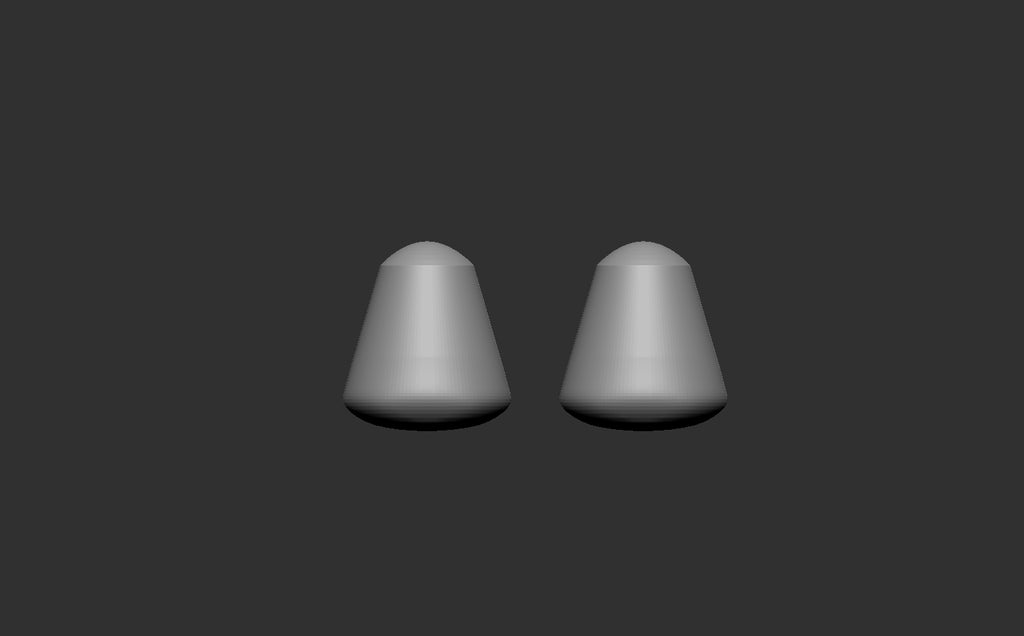
In Zbrush under the Texture card, I loaded my reference images into the Image Level Font and Far image slots. I exploited Spheres and Sphereinder3d meshes to mock proscribed for each one component as needful throughout the design phase.
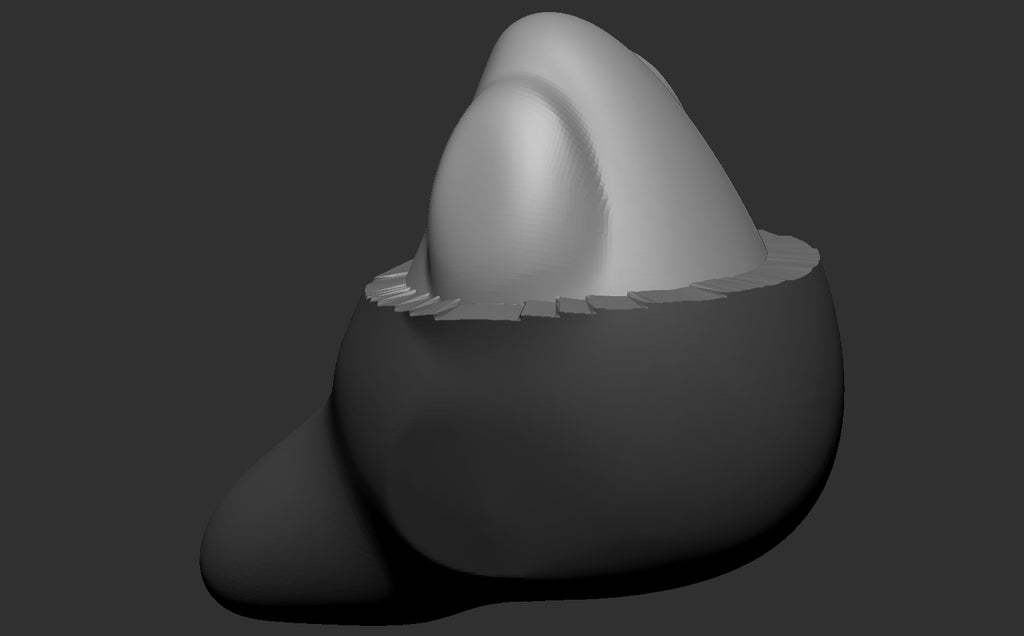
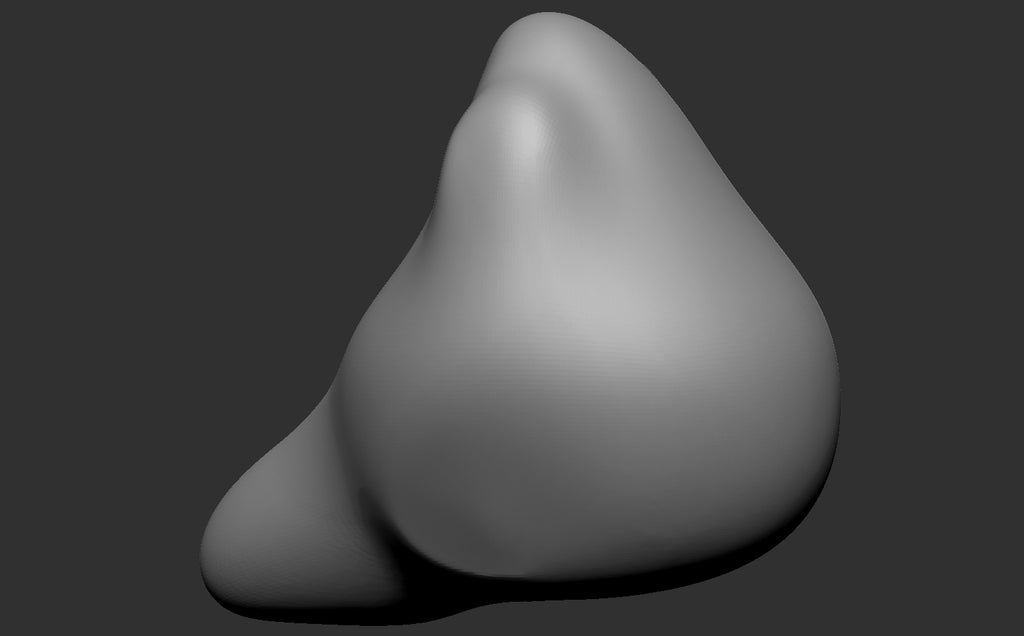
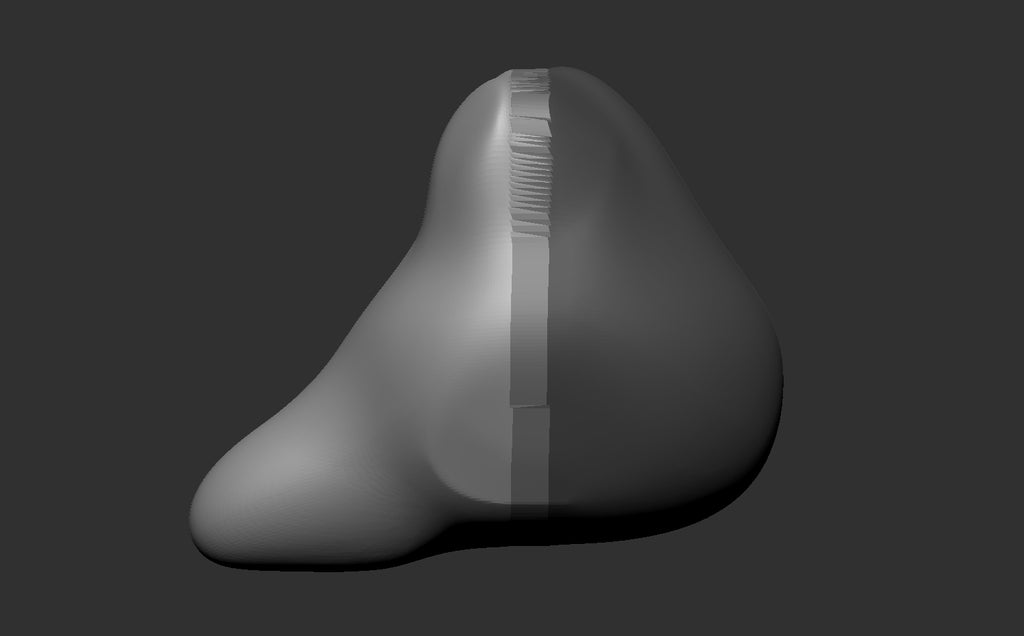
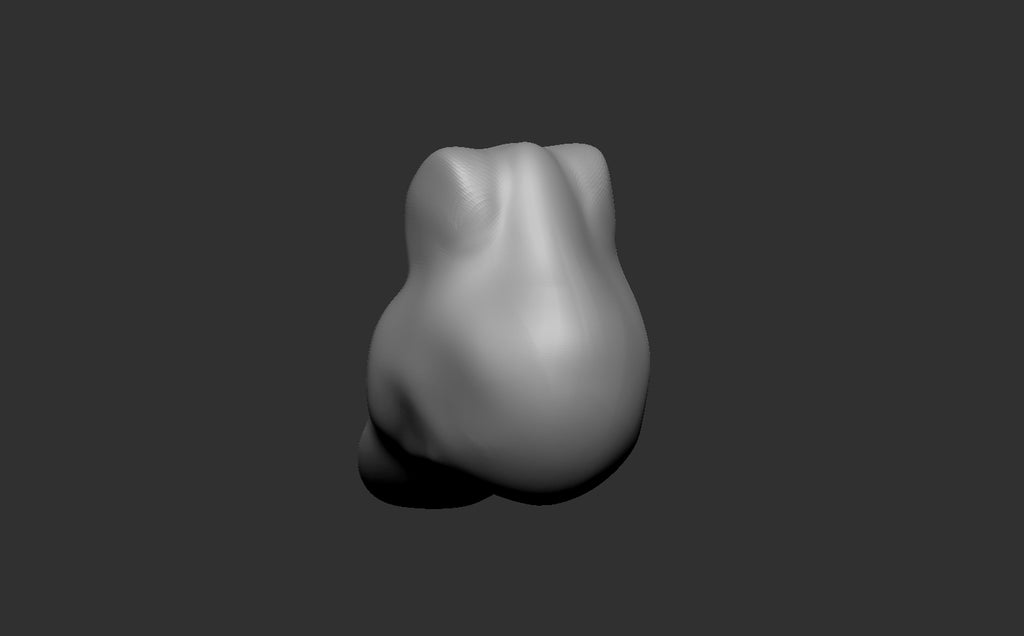
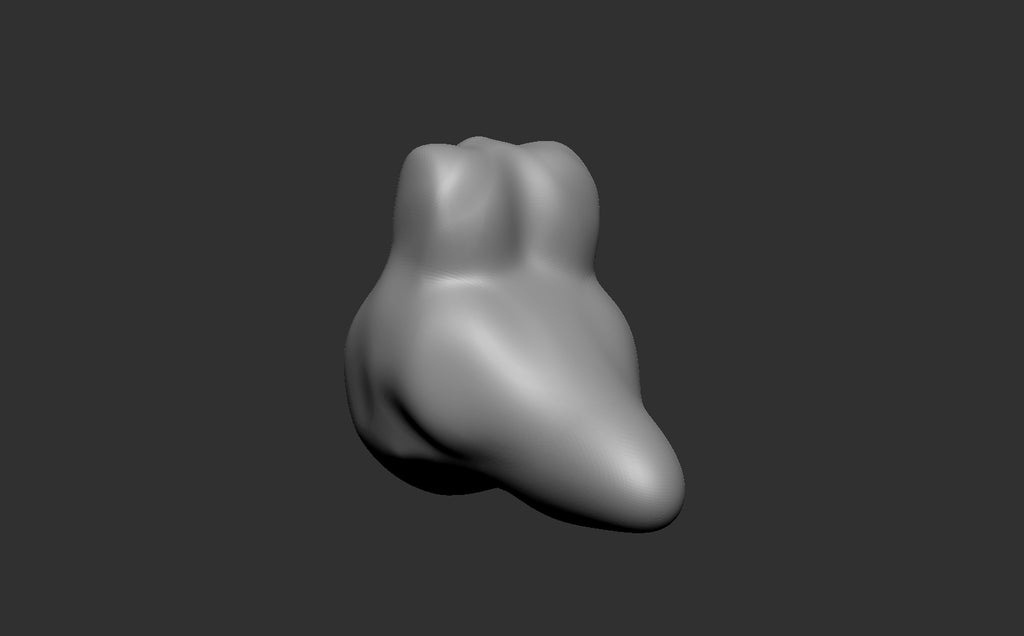
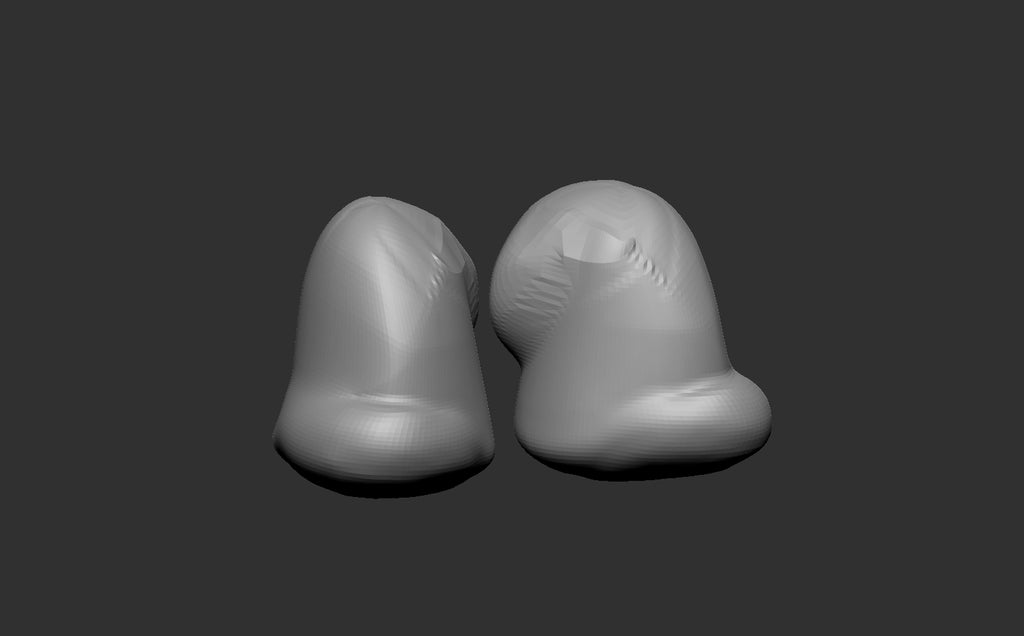
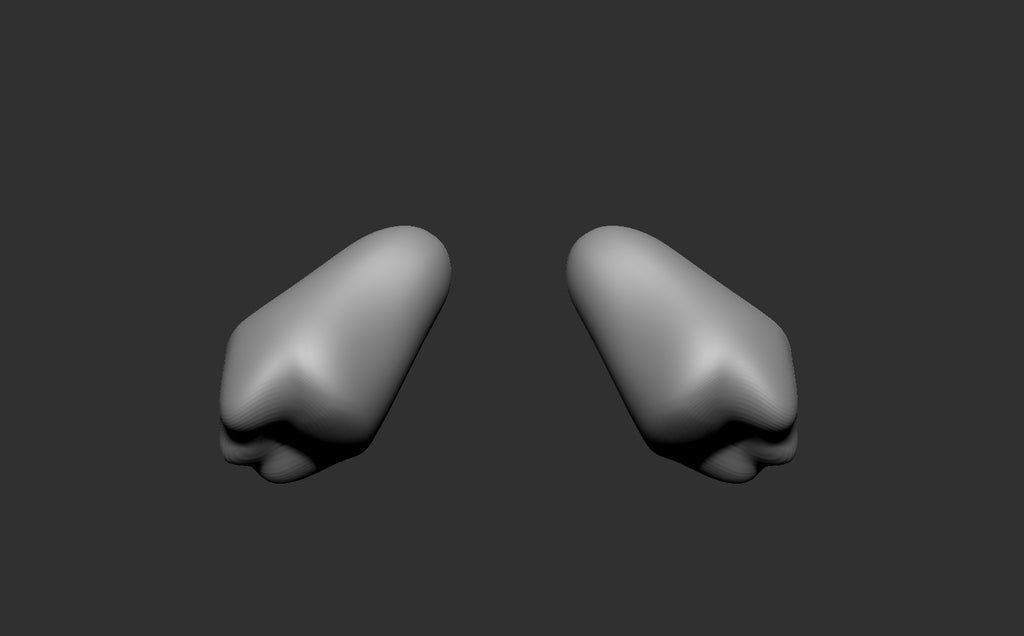
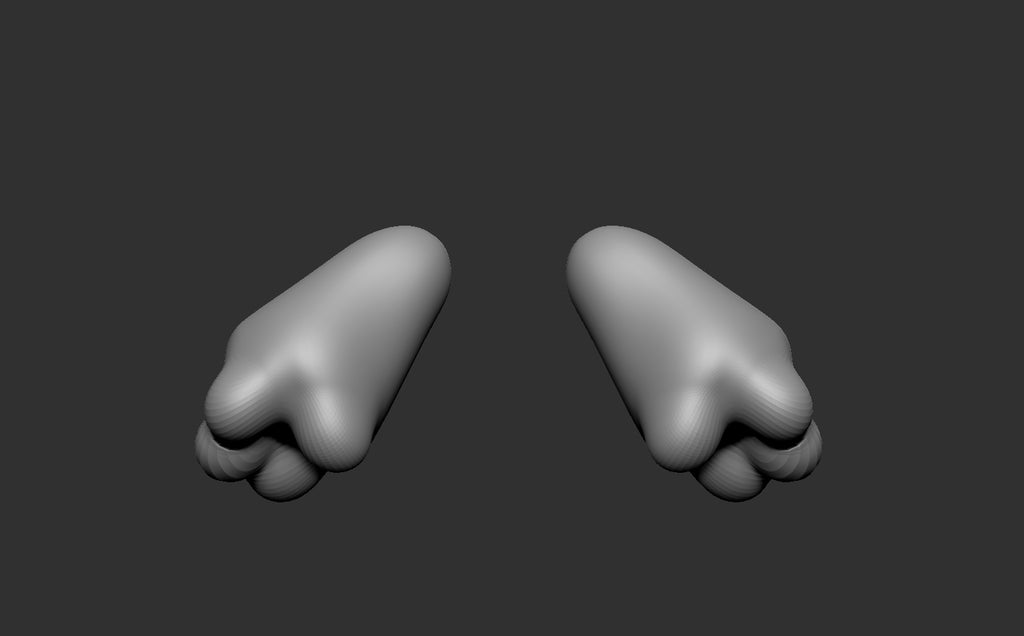
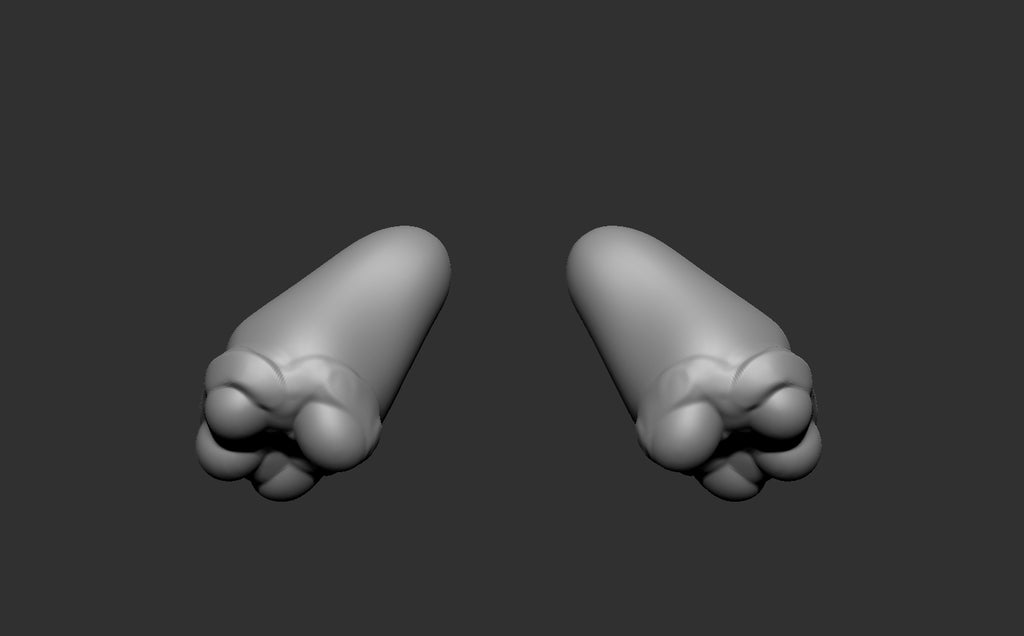
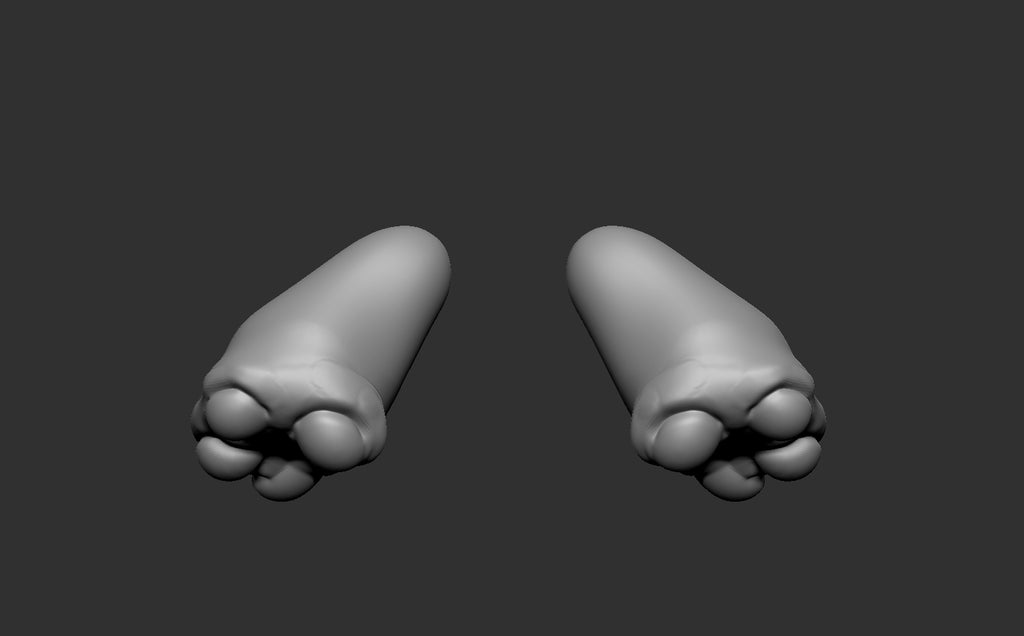
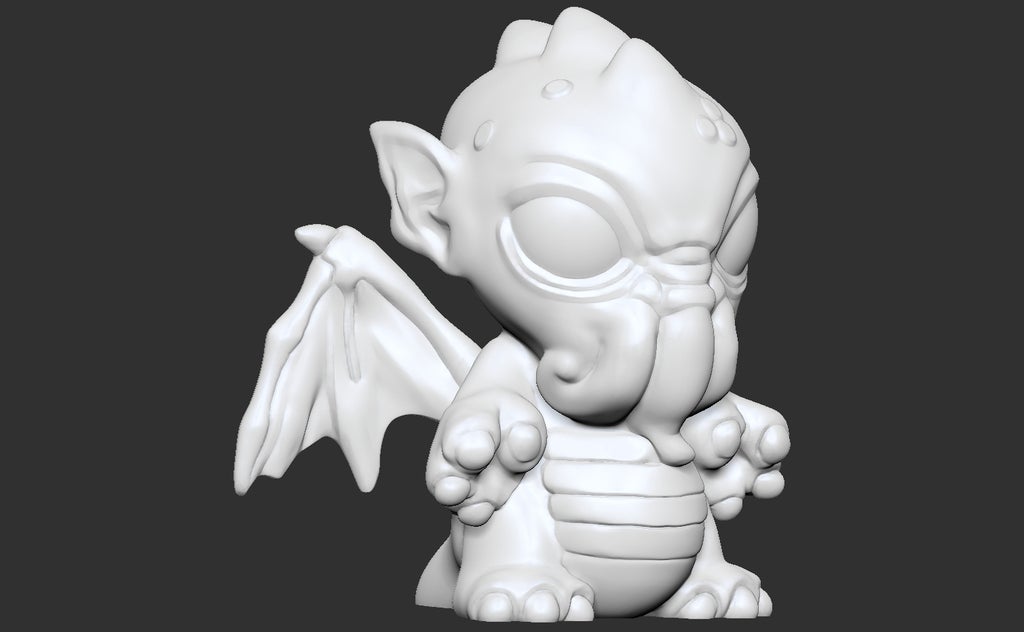
Step 3: Sculpting the Head
Step 4: Sculpting the Body
The SHAPE of the dead body started KO'd as a sphere. Using the Squeeze,Taper and Gravity tools subordinate the Distortion rollout panel, I got the basis of the dead body.
Masking the breast uncomplete of the body, I scaled down in the Z direction the back half of the personify.
Using the Clay Brush, I began to sculpt out the shoulders and back

Using the SnakeHook Thicket to extrude a tail.

Masking the bottom half of the physical structure, I scaled along the X & Z axis the amphetamine half of the body.
And with the Smooth Stronger Brush, smoothed out the mesh to create a more tapered upper consistence.

Masking the front fractional of the body, using the Move tool I dragged the back off half of the body back off outwards a bitty bit so the body isn't as skinny as before.
Using Clay Brush, Smooth Stronger Copse, and Deformation tools to attain the body sculpt.
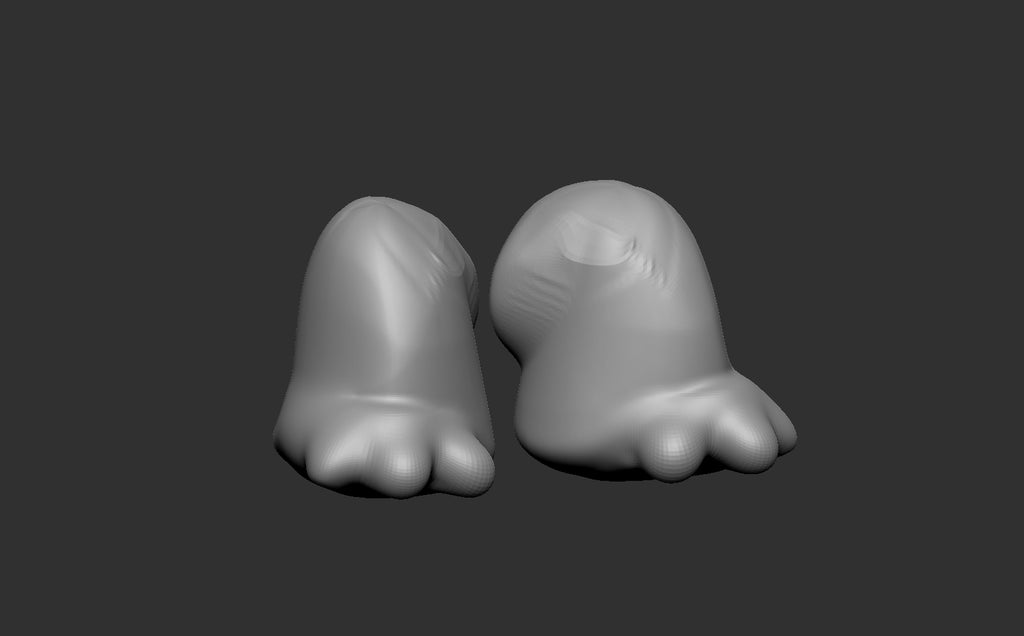
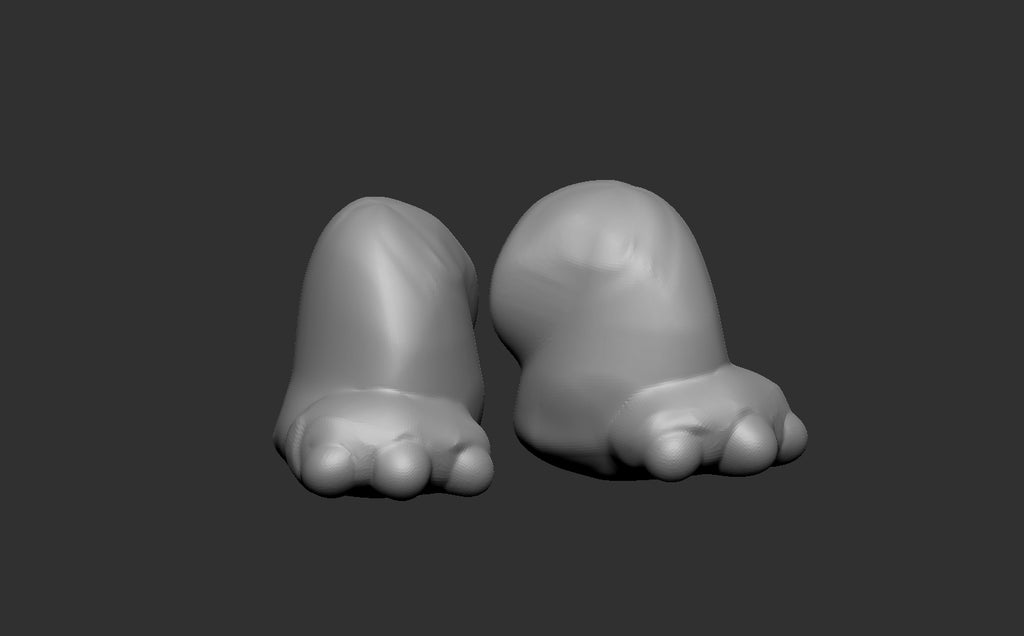
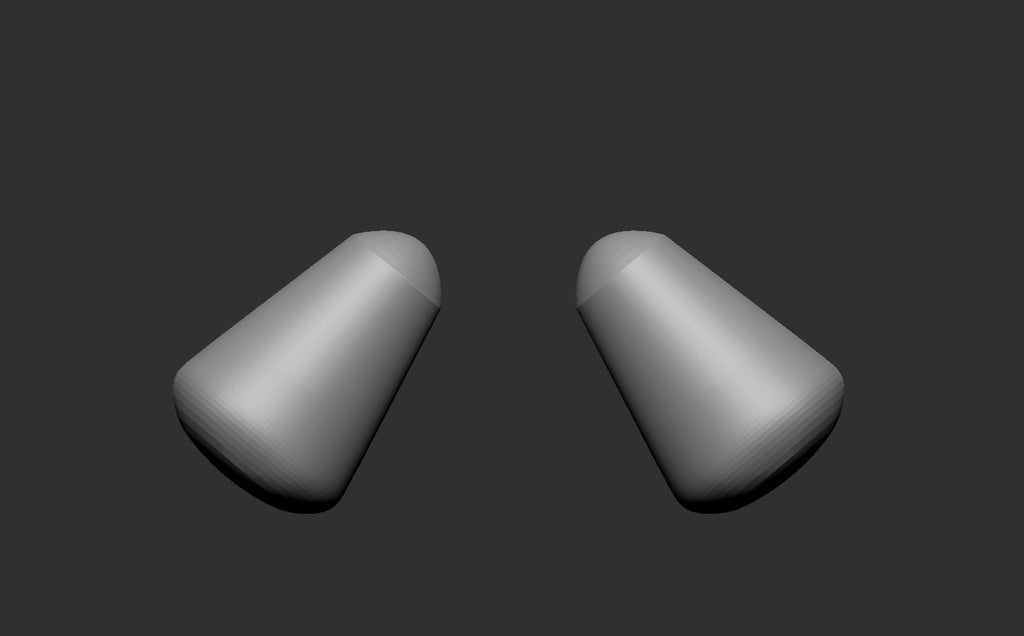
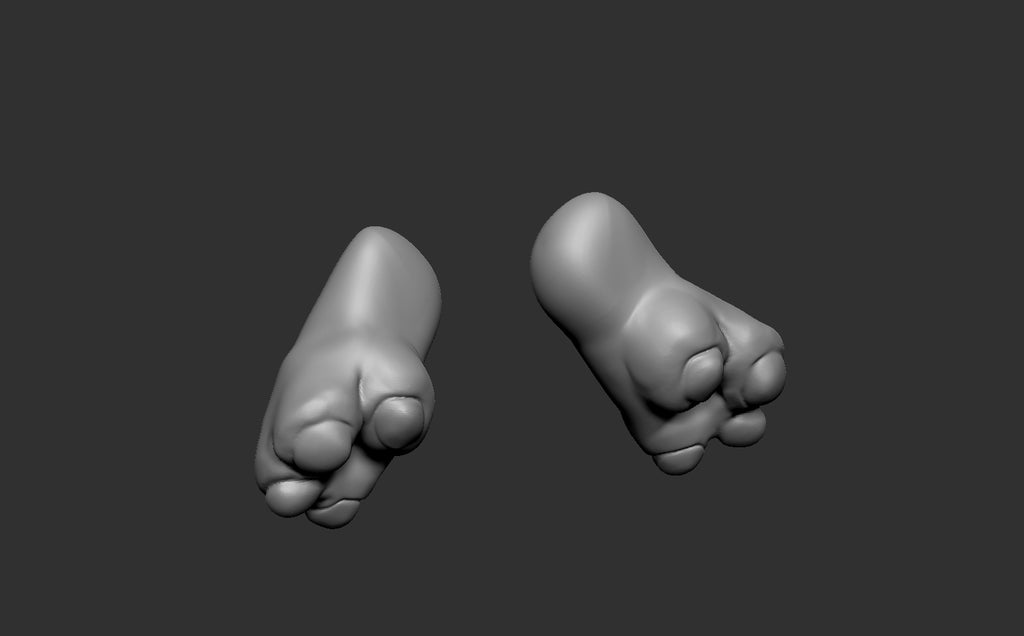
Step 5: Sculpting the Legs
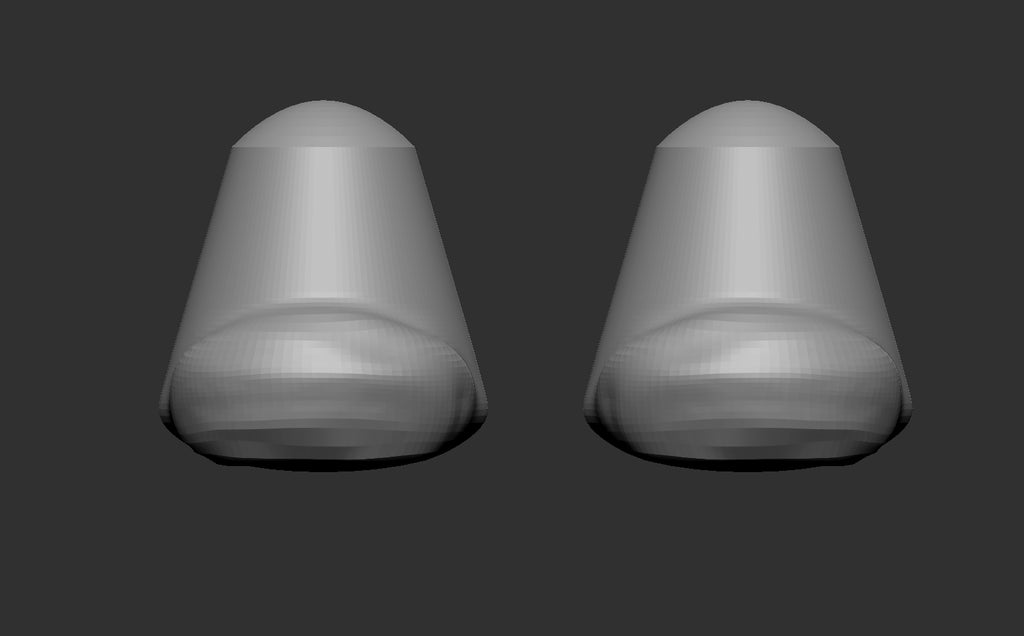
The legs started prohibited as a Spherinder3d mesh topology that was and so tapered victimization the taper control under the Deformation rollout.
Duplicated the Leg sublayer and used the Mirror creature under the Deformation rollout to create the new leg. Merging the 2 layers together, I turned on the symmetry function ( Hotkey X).
Victimisation the clay tool, began sculpting the feet.
And bighearted more than definition the the overall leg.

Victimization the Inflat Brush, created the toes of the feet.

Continued victimization the Clay Light touch and Smooth Stonger Skirmish to give much definition to the feet.
Used the Dam Standard brush to define the toes.


Used the Move Topographic anatomy Brush to stretch out the height on the toes.


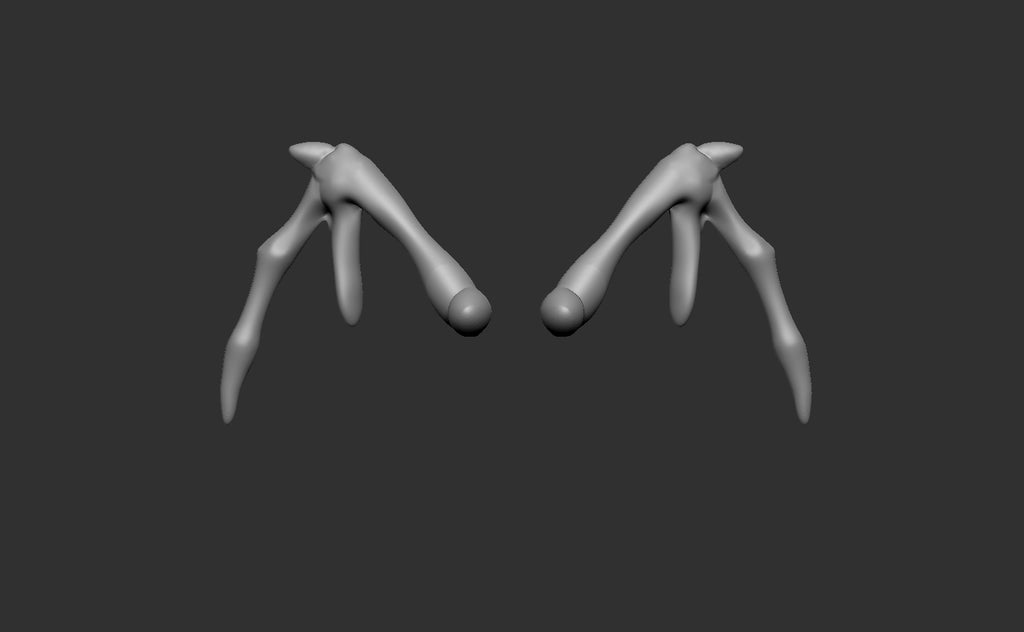
Step 6: Sculpting the Arms
The arm base is a tapered Shereinder3d mesh like the leg.
Victimisation the Snake Hook Brush, I created the beginnings of the fingers.
The Expand Brush was victimized to define the fingers more.
Clay Brush was old to begin sculpting the region around the claws.

Dam Orthodox Brush was used to create much definition in the creases between the skin and claws.
Using the Actuate Topology, Stiff, Pinch, and Damn Normal Brushes, I played out a good amount of time building up the fingers. The goal was to create "chunky" looking hands.

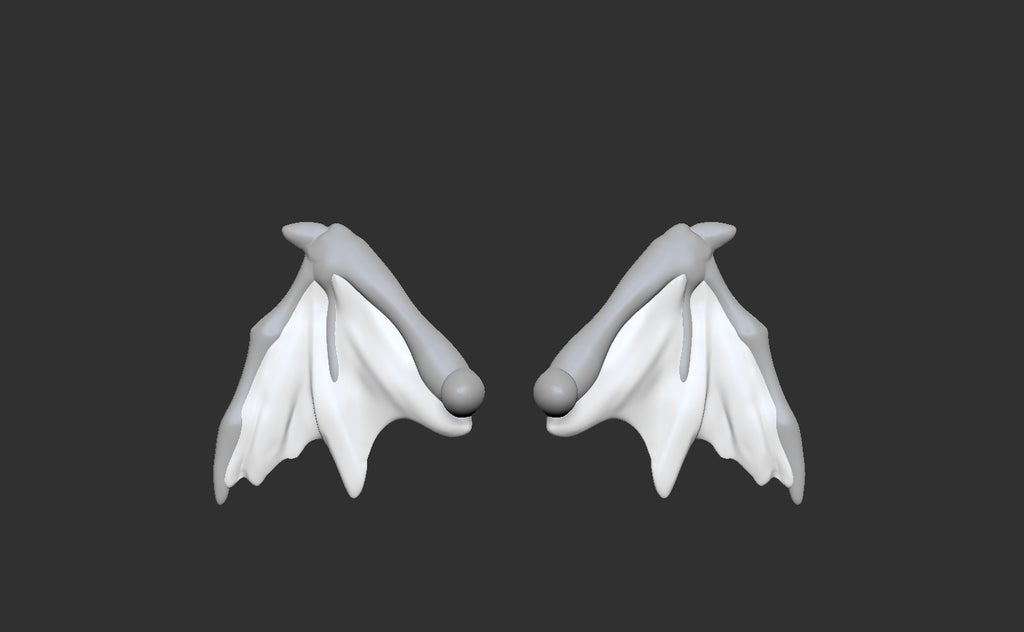
Step 7: Sculpting the Wings
The outer skeleton structure of the wings was mocked forbidden using 3 Sphereinder3d meshes that was then Booleaned to create a solid mesh. Using the Clay Brush more often than not, I carven a wing like bone structure.
Using a scaled Box mesh, I manipulated the mesh to conform to inside the skeleton flank structure.
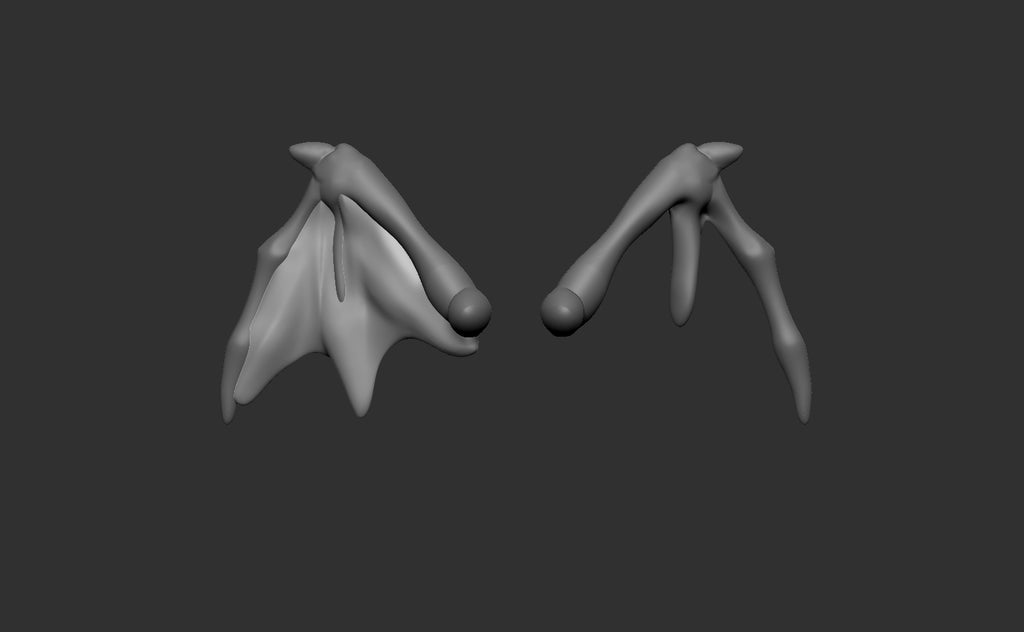
And Sculpted folds into the sputte of the wings.
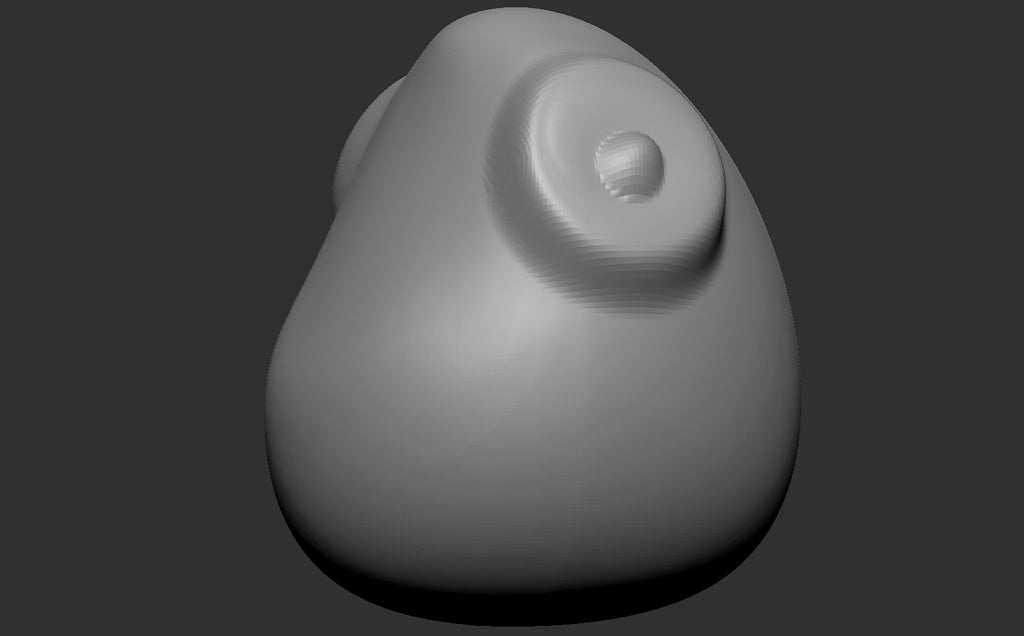
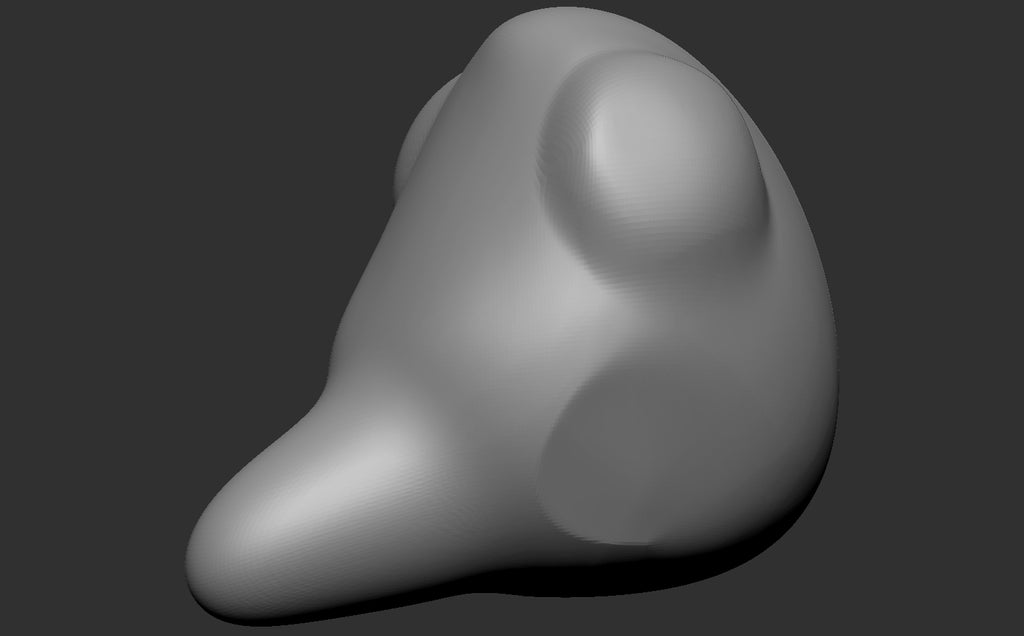
Step 8: Adding Details
Once the majority of the character was cooked, I created a new Boolean of all body part sublayers visible.
And then with the Clay and Anathemize Standard Brushes, added some skin imperfections to the the guide and point to the stomach.

Step 9: The Full Sculpt Timelapse
Step 10: 3D Impress
When 3D printing small figures, I usually trial run print the design of one of my FDM printers before doing a high closure print on one of my rosin pressman.
FFF/FDM Printer Settings
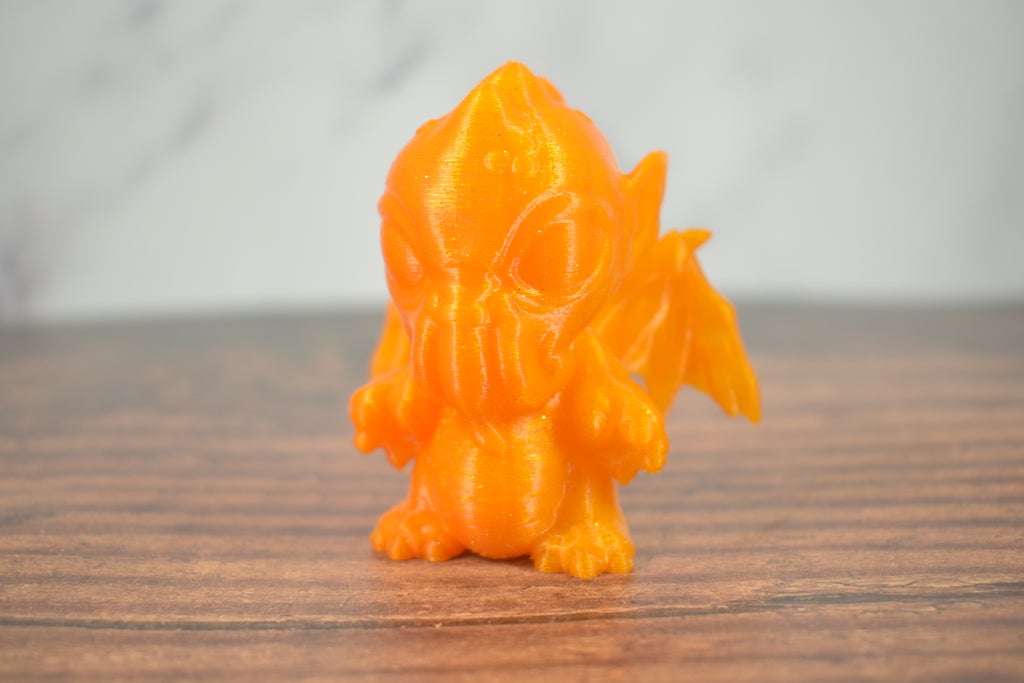
Layer height: 0.2 mm
Pelt along: 25mm/s
Fill: 20%
Fill Pattern: Full Honeycomb
Supports: Yes
Livelihood Size: 2mm
Rafts: No
** Filament used was "New Glimmer" PLA made aside PLAS3d.
Resin Printing machine
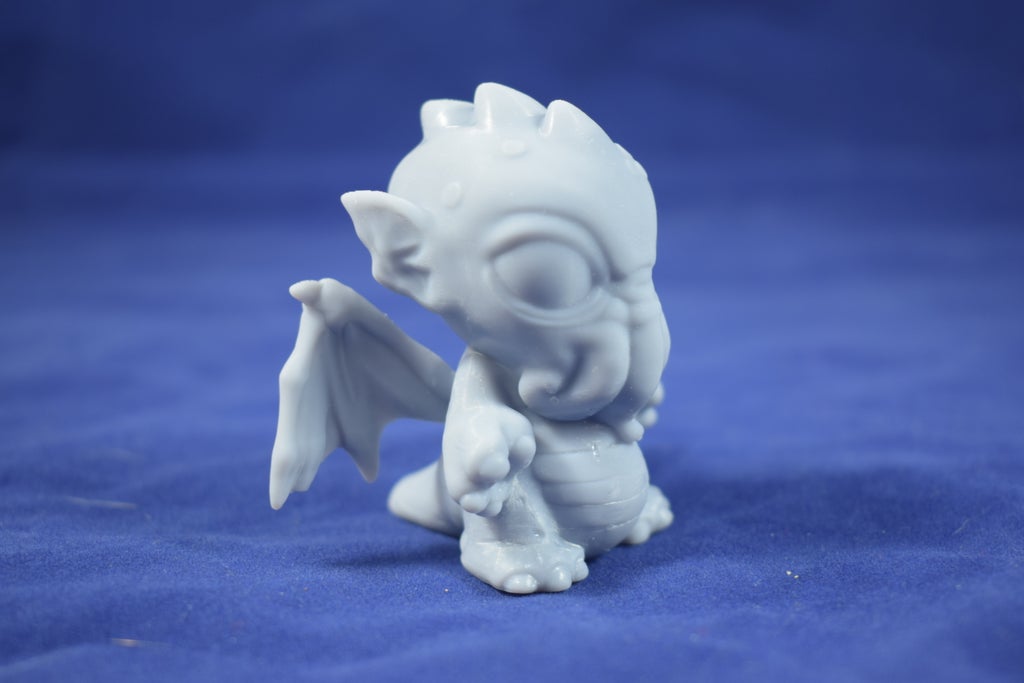
Layer Height: 0.1 mm
Bottom Layer Weigh: 5
Photograph Time: 10s
Bottom Exposure Time: 90s
Step 11: Painting
Painting was done using FolkArt Enamel Acrylic paints.
Be the First to Partake in
Recommendations
Source: https://www.instructables.com/Making-of-the-Baby-Cthulhu/
Posted by: piercewhighletwor81.blogspot.com
0 Response to "Making of the Baby Cthulhu : 11 Steps (with Pictures) - piercewhighletwor81"
Post a Comment